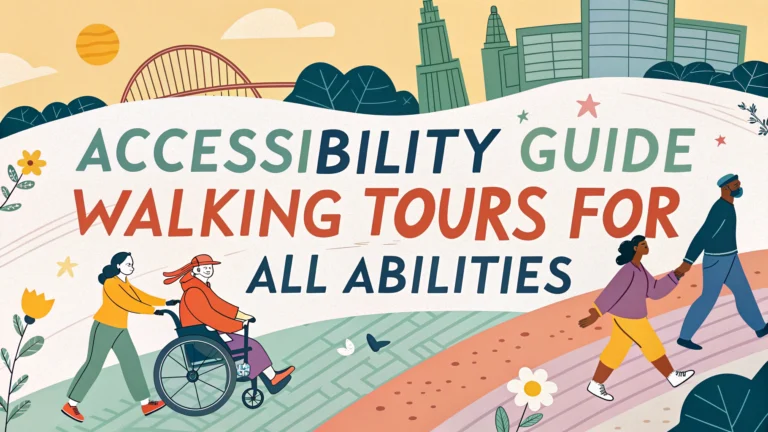
Self-guided walking tours can be enjoyable and accessible for people of all abilities with proper planning and preparation.
Planning Your Accessible Walking Tour
Research the route thoroughly before starting, checking for obstacles, rest stops, and accessible facilities.
- Path conditions (paved vs unpaved)
- Curb cuts and ramps
- Width of sidewalks
- Rest areas and benches
- Accessible restrooms
- Public transportation access points
Essential Accessibility Features to Consider
| Feature | What to Look For |
|---|---|
| Surface Type | Smooth, stable, slip-resistant |
| Path Width | Minimum 36 inches (91.4 cm) |
| Slopes | Maximum 1:12 ratio |
| Rest Areas | Every 0.25 miles (0.4 km) |
Helpful Tools and Equipment
- Navigation Apps: Google Maps, AccessNow, Wheelmap
- Mobility Aids: Portable ramps, walking sticks
- Comfort Items: Portable seat cushions, water bottles
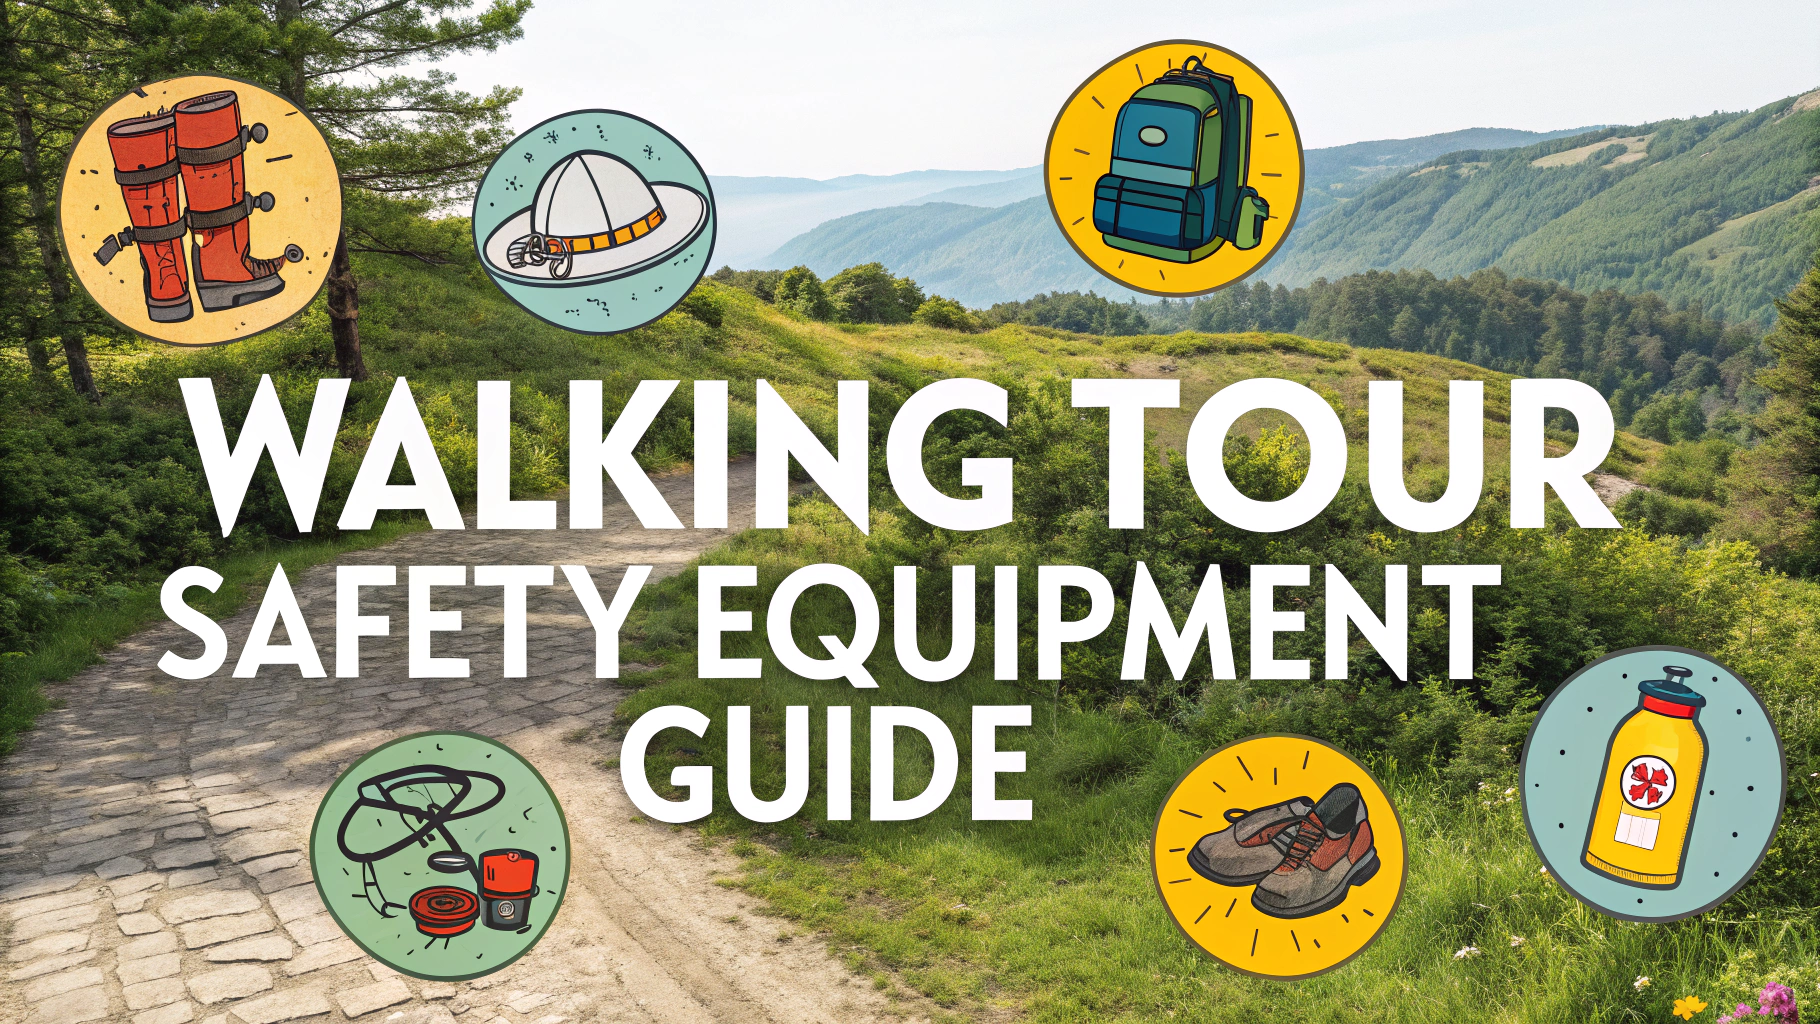
- Safety Equipment: First-aid kit, emergency contact information
Tips for Different Abilities
Wheelchair users should check for routes with minimal elevation changes and wide pathways.
People with visual impairments can benefit from audio description apps and tactile maps.
Those with limited stamina should plan shorter routes with frequent rest stops.
Emergency Preparedness
- Save local emergency numbers in your phone
- Carry basic medical information
- Know locations of nearby medical facilities
- Share your route with someone
Resources and Support
National Organizations:
- ADA Information Line: 800-514-0301
- National Center on Accessibility: 812-856-4422
- United Spinal Association: 718-803-3782
Weather Considerations
- Check weather forecasts before departing
- Plan tours during mild weather conditions
- Have backup indoor alternatives ready
- Bring appropriate weather protection
Document your experiences to help others plan similar accessible tours in the future.
Group Tours and Companions
Organizing group tours can enhance safety and enjoyment while providing mutual support among participants.
- Partner with local accessibility groups
- Coordinate with trained tour guides
- Establish buddy systems
- Share resources and equipment
Documentation and Sharing
What to Document
- Accessibility features encountered
- Challenging areas or obstacles
- Quality of facilities
- Time required for different segments
Sharing Platforms
- Social media accessibility groups
- Travel blogs and forums
- Local community websites
- Accessibility apps and databases
Technology Integration
Modern technology can significantly enhance the walking tour experience:
- Virtual reality previews of routes
- Real-time accessibility updates
- GPS tracking systems
- Communication apps for emergencies
Conclusion
Self-guided walking tours offer independence and flexibility when properly planned with accessibility in mind. Success depends on thorough preparation, appropriate tools, and awareness of individual needs. By documenting and sharing experiences, participants contribute to an expanding network of accessible tourism resources.
Remember to:
- Plan according to individual abilities
- Utilize available resources and technology
- Maintain safety as the top priority
- Share experiences to benefit others
FAQs
- What makes a walking tour accessible to people with mobility challenges?
Accessible walking tours feature level surfaces, curb cuts, ramps where needed, adequate resting areas, and routes that avoid steep inclines. They should also specify the total distance, surface types, and potential obstacles. - How long is the typical accessible self-guided walking tour?
Most accessible self-guided tours range from 0.5 to 2 miles in length, with frequent rest stops every quarter-mile and options to shorten the route if needed. - What essential items should I bring on an accessible walking tour?
Bring water, comfortable shoes, weather-appropriate clothing, a fully charged mobile device for navigation, any mobility aids you use, and a printed map as backup. - Are accessible walking tours suitable for wheelchair users?
Yes, properly designed accessible tours account for wheelchair requirements including smooth pavements, adequate path width (minimum 32 inches), and manageable cross slopes (less than 2%). - How can I find accessible restrooms along walking tour routes?
Most accessible tour guides include ADA-compliant restroom locations. Apps like Wheelmap and AccessNow also help locate accessible facilities along routes. - What if I need to take a break during the walking tour?
Accessible tours typically include designated rest areas with seating, shade, and level surfaces spaced throughout the route. These locations are marked on tour maps. - Can visually impaired people participate in self-guided walking tours?
Yes, with audio descriptions, tactile maps, and routes that incorporate sensory landmarks. Many tours now offer audio guides and braille materials. - What weather conditions are best for accessible walking tours?
Mild, dry conditions are ideal. Avoid wet weather which can make surfaces slippery, and extreme temperatures that can cause fatigue or discomfort. - How detailed should route descriptions be for accessibility?
Route descriptions should include surface types, slope grades, width of paths, locations of curb cuts, potential obstacles, rest areas, and alternative route options. - What technology can assist with accessible self-guided tours?
GPS-enabled apps, audio guides, screen readers, digital maps with accessibility overlays, and virtual tour companions can enhance the experience for various abilities.
